march_rqt_input_device
Overview
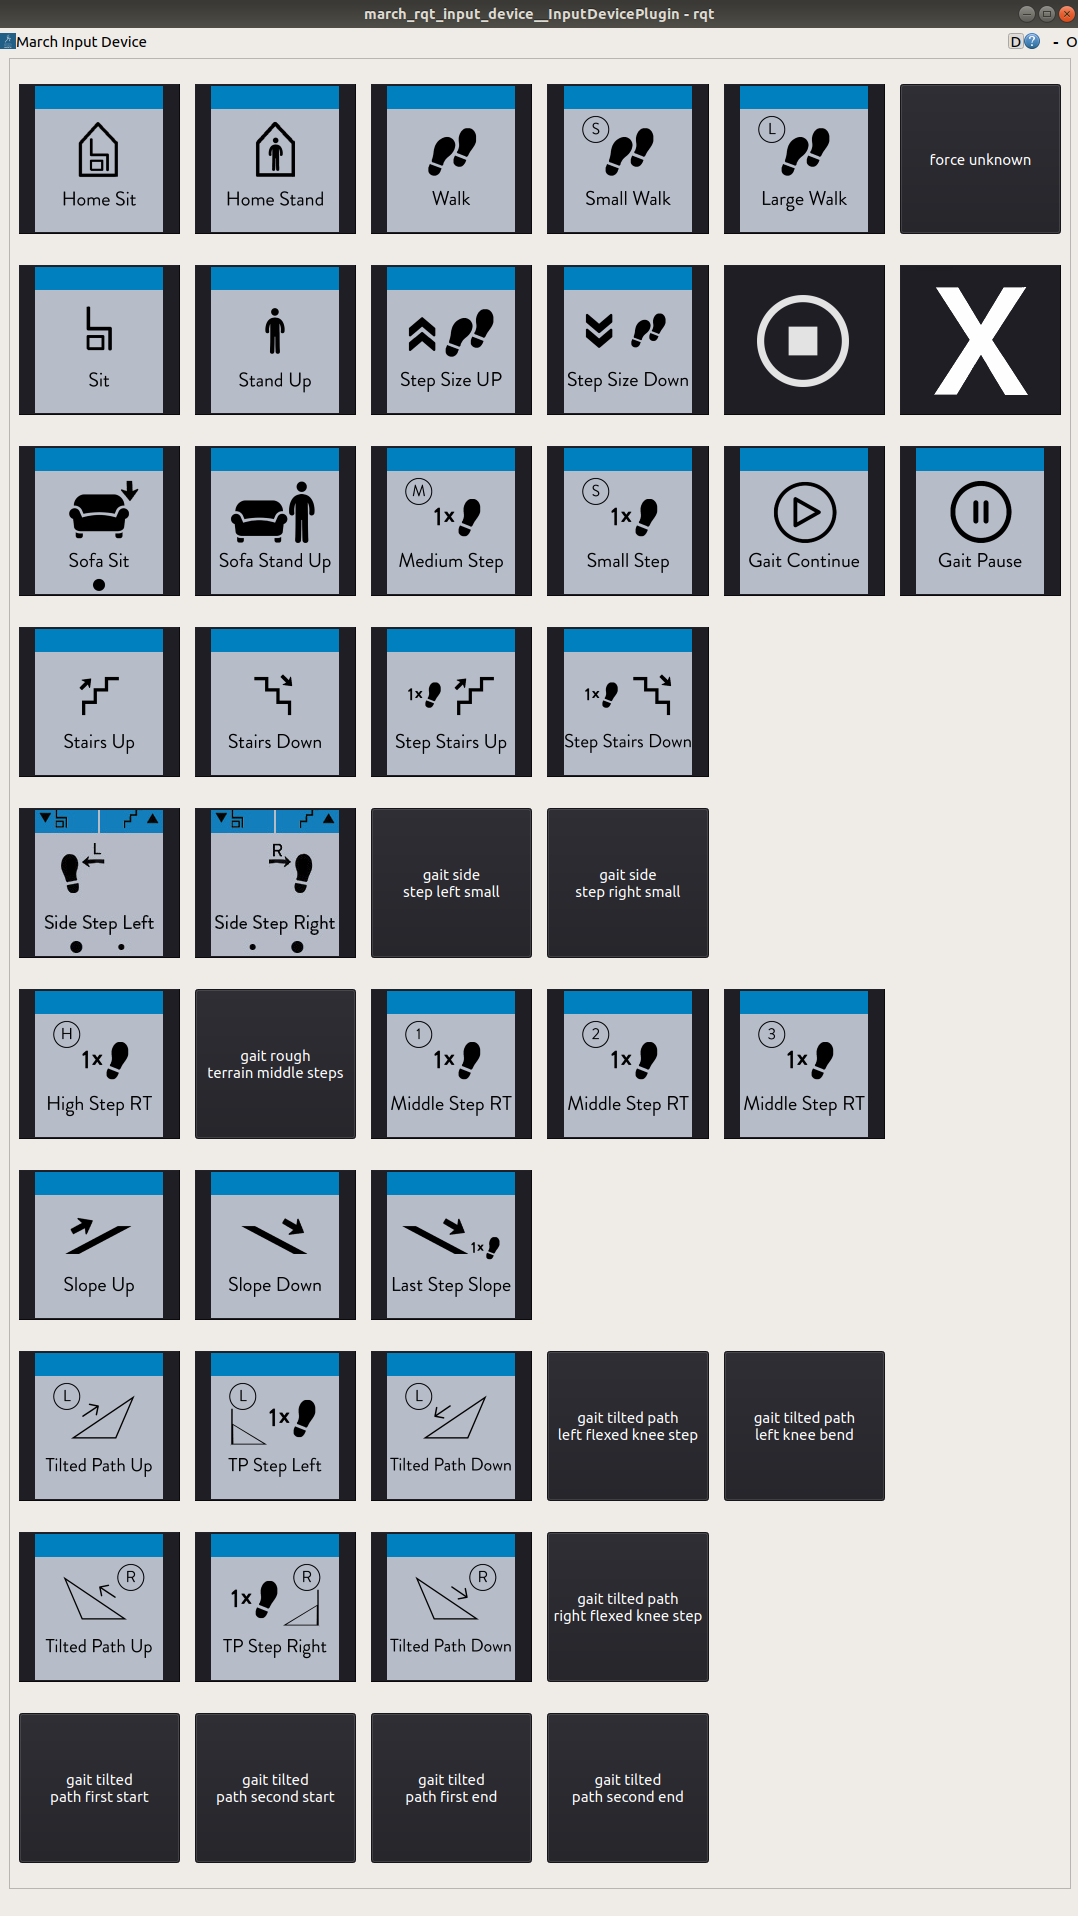
The march_rqt_input_device is a rqt plugin that features as a mock input device during training and development. It allows you to easily send gait instructions and stop commands, as well as fake errors.
The march_rqt_input_device was designed to easily allow you to add custom buttons.

Launching
The march_rqt_input_device can be started just as every other package:
roslaunch march_rqt_input_device march_rqt_input_device.launch
In case you don’t want to ping the safety node with an alive message you can set the launch parameter ping_safety_node. This can be useful when you are using the normal input device and the march_rqt_input_device the same time and losing the normal input device should cause the safety node to throw an error.
roslaunch march_rqt_input_device march_rqt_input_device.launch ping_safety_node:=false
ROS API
Nodes
march_rqt_input_device - The rqt plugin that can send gait instructions and errors.
Published Topics
- /march/input_device/alive (std_msgs/Time)
Publish empty alive messages so march_safety does not throw an error.
- /march/input_device/instruction (march_shared_resources/GaitInstruction <march_shared_resources/msg/GaitInstruction.msg>)
Send instructions to the state machine.
- /march/error (march_shared_resources/Error <march_shared_resources/msg/Error.msg>)
Throw a fake error for the state machine to react to.
Tutorials
Add a new button
In this tutorial we will add a new button which will have a custom callback that publishes on a new topic
Our button will publish a boolean message if this tutorial works on the topic /march/this/tutorial/works
We will need to add code to input_device.py <march_rqt_input_device/src/march_rqt_input_device/input_device_view.py> and input_device.py <march_rqt_input_device/src/march_rqt_input_device/input_device_controller.py>. The InputDeviceView class contains code for layout, color and buttons, where the InputDeviceController class contains code for publishing on topics.
Make sure to check these files before you start as it contains many examples of existing buttons.
Hint
If the publisher your button needs already exists, you can skip some of the following steps.
Create a new publisher
Create a new publisher in the __init__ of InputDeviceController:
from std_msgs.msg import Bool # Import the Bool msg if needed.

self.this_tutorial_works_pub = rospy.Publisher('/march/this/tutorial/works', Bool, queue_size=10)
Create a publish function
Add a publish function to the InputDeviceController class, which will be called by our button:
.. code:
def publish_true(self):
      self.this_tutorial_works_pub.publish(Bool(True))
Create a button object
this_tutorial_works_button = self.create_button('Pulbish True',
                                                callback=lambda: self.controller.publish_true())
Add it to the march_button_layout
A 2D array called march_button_layout defines the layout you will see on screen.
Make sure to add your button and pad it out with None so its dimensions remain consistent. Example:
march_button_layout = [
  [home_sit_button, home_stand_button, gait_walk_button],
  [this_tutorial_works_button, None, None]
]